From ISO to Dual Boot: Installing KDE Linux with MX Live USB Maker
Published: November 2, 2026 | Reading time: ~12 minutes
Introduction
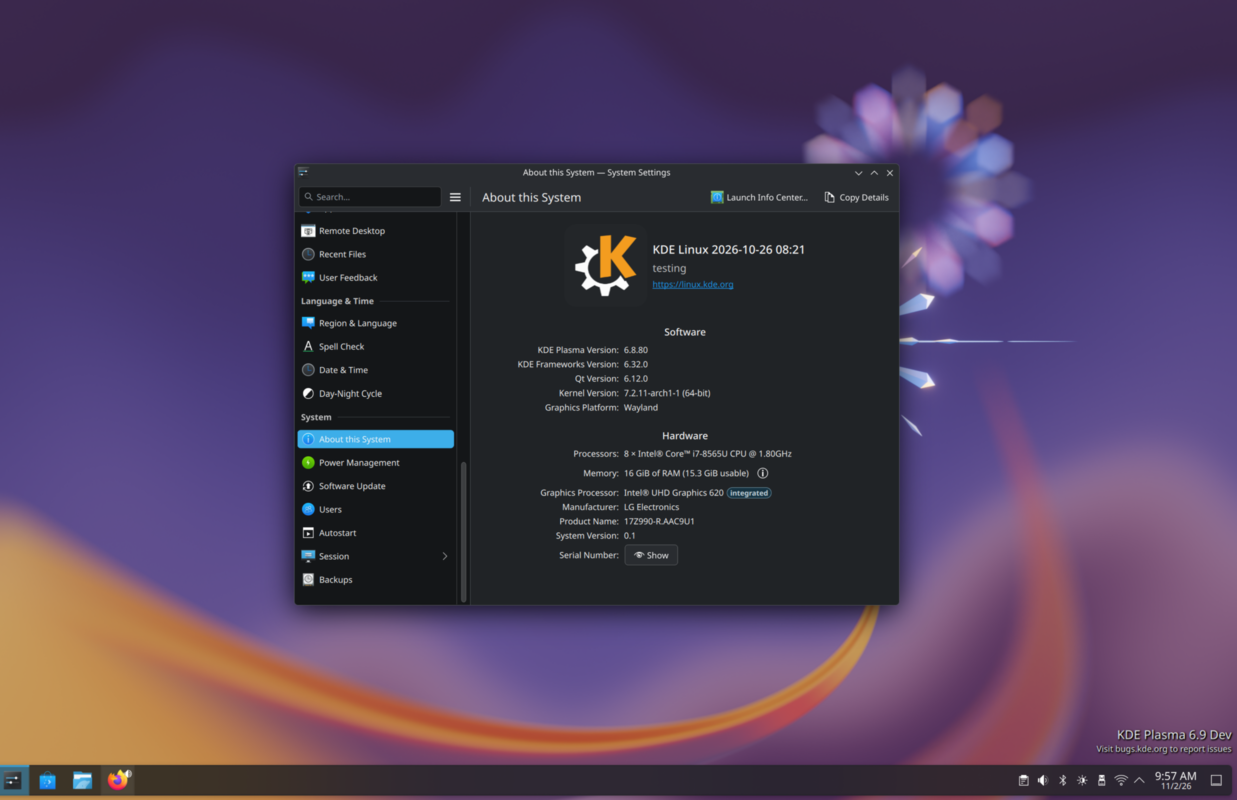
KDE Linux represents an exciting new direction in the Linux ecosystem—a purpose-built operating system from the KDE community itself. Unlike traditional distributions that bundle KDE Plasma as a desktop environment, KDE Linux is an opinionated, image-based OS designed to deliver the KDE experience in its purest form.
But here’s the catch: KDE Linux is currently in Alpha. The official stance is clear—no dual-boot support, no Secure Boot compatibility, and “complex partition setups are not yet supported.” Yet for adventurous users who want to experiment without dedicating an entire machine, dual-booting is still possible with careful preparation.
In this guide, I’ll walk you through downloading KDE Linux, creating a bootable USB with MX Live USB Maker (an excellent alternative to the official ISO Image Writer), and installing KDE Linux alongside your existing operating system.
⚠️ Critical Warnings Before You Begin
Read this section carefully. Skipping these warnings could result in data loss.
| Risk | Severity | Mitigation |
|---|---|---|
| Data loss during partitioning | Critical | Full backup of all important data |
| Bootloader corruption | High | Keep Windows/Linux recovery media handy |
| Alpha software instability | Medium | Don’t use as primary daily driver yet |
| No Secure Boot support | Medium | Must disable in UEFI settings |
| Potential rollback issues | Medium | Document your installation state |
The KDE Linux project explicitly states: “No other OS on the same device – dual-boot at your own risk!” This guide assumes you understand and accept these risks.
Part 1: Downloading KDE Linux
Step 1: Visit the Official Download Page
Navigate to https://linux.kde.org. As of late 2026, only the Testing edition is available. This showcases in-development versions of Plasma and KDE applications.
Step 2: Download the ISO
Click the download link for the latest .iso image. Multiple variants may be available:
- Standard x86_64 (most common)
- ARM variants (for specific hardware)
Step 3: Verify the ISO Integrity
This step is non-negotiable. Corrupted ISOs can cause installation failures or worse.
- On the download page, click “Details” for your downloaded ISO
- Copy the SHA256 checksum (the “long string of nonsense characters”)
- Right-click the downloaded ISO file → Properties → Checksums tab
- Paste the checksum and press Enter
- Wait for the text field to turn green
If verification fails, re-download the ISO. Do not proceed with a corrupted file.
Part 2: Creating a Bootable USB with MX Live USB Maker
While KDE Linux recommends their own ISO Image Writer, MX Live USB Maker is a robust alternative that works well on both Windows and Linux systems.
Prerequisites
- USB flash drive: Minimum 8GB (16GB recommended)
- All data on the USB will be permanently erased
- Administrator/root access on your host system
Step 1: Obtain MX Live USB Maker
If you don’t already have it:
On Linux:
# MX Linux users have it pre-installed
# For other distributions, download from mxlinux.org
On Windows: Download the MX Live USB Maker portable version or install MX Linux in a VM temporarily to access the tool.
Step 2: Launch MX Live USB Maker
- Insert your USB drive
- Open MX Live USB Maker (may require root/administrator privileges)
- Enter your password when prompted
Step 3: Configure the Write Operation
| Setting | Recommended Value |
|---|---|
| ISO Source | Browse to your verified KDE Linux ISO |
| Target Device | Double-check your USB drive identifier |
| Write Mode | Default (DD or ISO mode) |
| Persistence | Not needed for installation |
Critical: Verify the target device is your USB drive, not your internal hard disk. Selecting the wrong device will destroy your operating system.
Step 4: Write the Image
Click “Start” or “Create” and wait for completion. This typically takes 5-15 minutes depending on USB speed.
Note: If you encounter the “gfxboot.c32: not a COM32R image” error during boot, type
liveat the boot prompt and press Enter.
Part 3: Preparing Your System for Dual Boot
Disable Secure Boot
KDE Linux does not support Secure Boot as of the Testing edition.
- Reboot your computer
- Enter UEFI/BIOS (typically F2, F10, F12, or Del during startup)
- Navigate to Secure Boot settings
- Disable Secure Boot
- Save changes and exit
Documentation Tip: Different manufacturers place this setting in different locations. Common paths:
- ASUS: Boot → Secure Boot
- Dell: Security → Secure Boot
- HP: System Configuration → Boot Options
- Lenovo: Security → Secure Boot
Create Free Space for KDE Linux
You need at least 15GB of unallocated space, though 50GB+ is recommended for comfortable use.
From Windows:
- Open Disk Management (
diskmgmt.msc) - Right-click your largest partition → “Shrink Volume”
- Enter the amount to shrink (in MB)
- Leave the space unallocated
From existing Linux:
# Using GParted (graphical)
sudo gparted

# Or command line with fdisk/parted
sudo fdisk -l  # Identify partitions
sudo parted /dev/sda
Important: Do not create new partitions yet. The KDE Linux installer will handle partitioning.
Part 4: Booting the Live Session
Access the Boot Menu
- Insert the USB drive
- Reboot your computer
- Press the boot menu key repeatedly during startup:
| Manufacturer | Boot Menu Key |
|---|---|
| ASUS | F8 |
| Dell | F12 |
| HP | F9 |
| Lenovo | F12 or Fn+F12 |
| Acer | F12 |
| MSI | F11 |
- Select your USB drive from the list (may appear as “UEFI: [USB Brand]”)
Navigate the Live Environment
KDE Linux will boot into a live session. You can:
- Test hardware compatibility
- Browse the web for installation help
- Launch the installer from the desktop
Part 5: Installing KDE Linux in Dual Boot Configuration
Step 1: Launch the Installer
Look for “Install KDE Linux” on the desktop or in the application menu.
Step 2: Language and Location
Select your preferred language, keyboard layout, and timezone.
Step 3: Partitioning (The Critical Step)
This is where dual boot gets tricky. The KDE Linux installer may not explicitly offer “dual boot” as an option.
Manual Partitioning Approach
Choose “Manual” or “Something Else” partitioning:
| Partition | Size | Type | Mount Point | Format |
|---|---|---|---|---|
| Existing ESP (EFI) | Preserve | FAT32 | /boot/efi | Do NOT format |
| New root partition | 40-60GB | ext4 | / | Yes |
| New swap (optional) | 4-16GB | swap | swap | Yes |
| Home (optional) | Remaining | ext4 | /home | Yes |
Critical considerations:
- Do NOT format the existing EFI System Partition (ESP) if you want to keep your current bootloader
- Create a new ESP if you prefer separate bootloaders (adds complexity)
- Document your partition scheme before making changes
Step 4: Bootloader Installation
Option A: Install to KDE Linux’s root partition
- Safer for dual boot
- Requires manual GRUB configuration later
Option B: Install to the ESP (replaces existing bootloader)
- Simpler initially
- May overwrite Windows/Linux bootloader
- Can be recovered with
boot-repairor Windows recovery
Step 5: User Account Creation
Create your username, password, and hostname. Use a strong password—Alpha software doesn’t excuse weak security.
Step 6: Complete Installation
Review your settings and click “Install.” The process typically takes 10-30 minutes.
Part 6: Post-Installation Configuration
Boot Order Management
After installation, you may need to adjust UEFI boot order:
- Enter UEFI/BIOS again
- Locate “Boot Order” or “Boot Priority”
- Ensure your preferred OS boots first
- Save and exit
GRUB Configuration (If Needed)
If KDE Linux’s GRUB doesn’t detect your other OS:
# Boot into KDE Linux
sudo os-prober
sudo update-grub
If os-prober doesn’t find your other system, you may need to manually add entries to /etc/grub.d/40_custom.
Enable Automatic Updates
KDE Linux offers rollback capabilities—configure them early:
# Check for updates
sudo apt update && sudo apt upgrade

# Create system snapshot (if supported)
# Refer to KDE Linux documentation for specific tools
Troubleshooting Common Issues
Problem: System Won’t Boot After Installation
Solution:
- Boot from the live USB
- Use
boot-repairor chroot into your installation - Reinstall GRUB to the correct partition
Problem: WiFi Doesn’t Work
Solution:
- Alpha software may have incomplete driver support
- Try proprietary drivers via Discover package manager
- Check KDE Linux forums for hardware-specific fixes
Problem: NVIDIA GPU Issues
Solution:
- The KDE Linux project specifically requests NVIDIA testing
- Install NVIDIA drivers from the repository
- Consider using open-source Nouveau drivers if proprietary drivers fail
Problem: Dual Boot Entry Missing
Solution:
# From KDE Linux
sudo mkdir -p /boot/efi/EFI
sudo mount /dev/[your-esp-partition] /boot/efi
sudo os-prober
sudo update-grub
Why Dual Boot Despite the Warnings?
You might wonder: if KDE Linux officially discourages dual booting, why attempt it?
Reasons to proceed:
- Testing KDE Linux before committing to a dedicated machine
- Comparing Plasma implementations side-by-side
- Contributing bug reports for dual-boot scenarios
- Learning Linux installation internals
Reasons to wait:
- You need a stable daily driver
- You’re uncomfortable with bootloader troubleshooting
- You don’t have time for potential rollback procedures
- Your hardware is uncommon (especially NVIDIA + special laptops)
Conclusion
Installing KDE Linux in a dual-boot configuration is absolutely achievable, but it demands caution, preparation, and acceptance of risk. The Alpha status means you’re participating in the project’s development by finding edge cases and documenting issues.
Key takeaways:
- ✅ Verify your ISO checksum
- ✅ Back up all data before partitioning
- ✅ Disable Secure Boot in UEFI
- ✅ Use MX Live USB Maker for reliable USB creation
- ✅ Document your partition scheme
- ✅ Keep recovery media accessible
KDE Linux represents the KDE community’s vision for a cohesive, modern Linux experience. Whether you’re a developer, power user, or curious tinkerer, your testing helps shape its future. Just remember: expect some adventures.
Further Resources
- Official KDE Linux Documentation
- KDE Linux Community Forums
- MX Linux Live USB Maker Wiki
- GRUB Dual Boot Guide (Arch Wiki)
Have you tried dual-booting KDE Linux? Share your experiences, pitfalls, and success stories in the comments below. Your feedback helps other adventurers navigate the installation process safely.
Leave a Reply