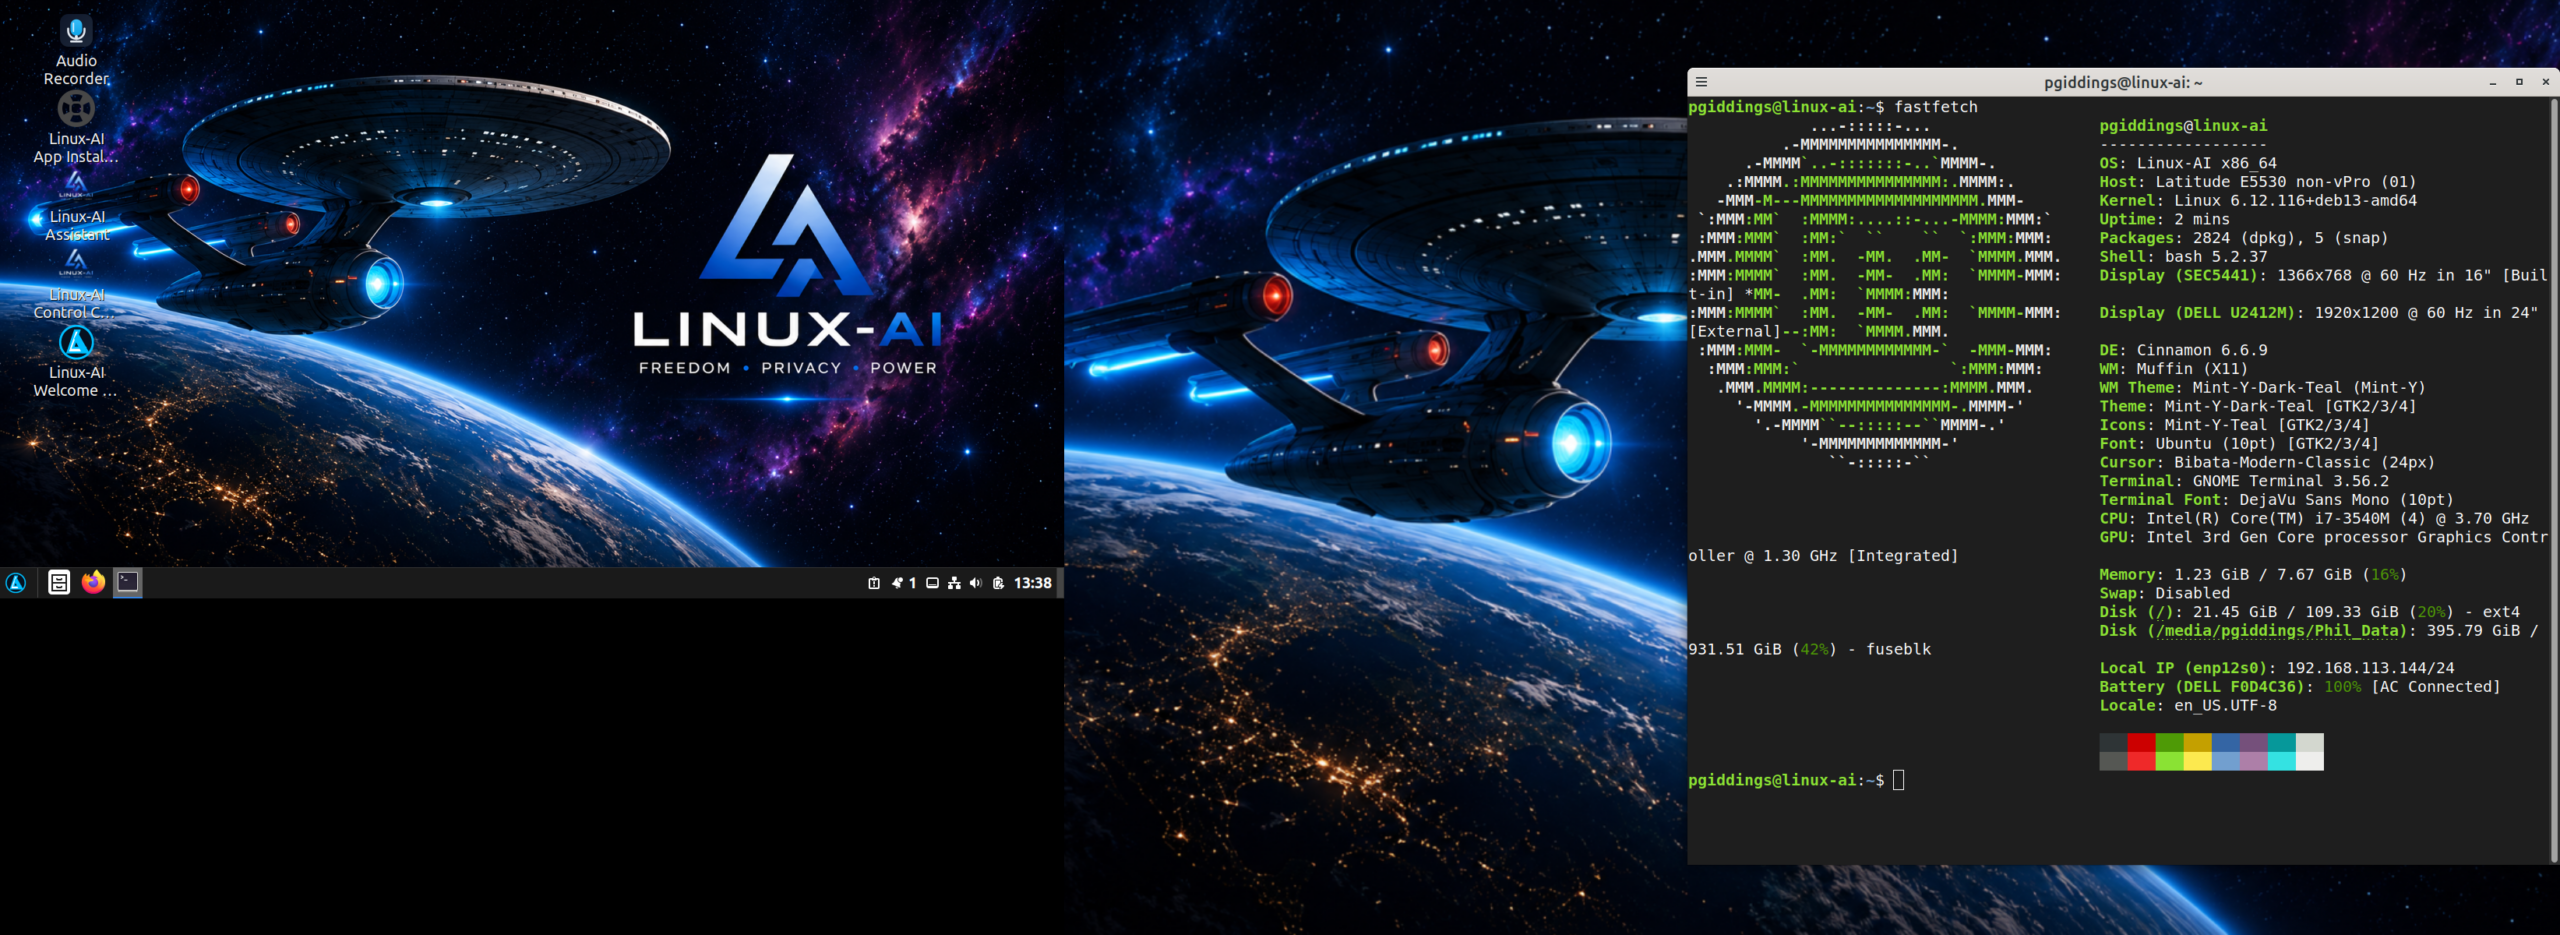
Dual Booting Linux-AI 2.0 “Nevaeh” on a Dell Latitude E5530: A Field Guide
Installing a modern AI-focused distro on a twelve-year-old business laptop sounds like a contradiction. It turned out to be a surprisingly reasonable afternoon project — with a few lessons worth sharing.
What is Linux-AI, and why dual boot it?
Linux-AI OS is a Debian-based desktop distribution built around a simple idea: bring local artificial intelligence directly into the Linux desktop without sacrificing the privacy, stability, and openness that make Linux appealing. Its feature list includes a built-in local AI assistant, an AI-powered application installer, AI-assisted system management tools, voice interaction, and a professional Cinnamon desktop experience on a stable Debian foundation. Because the AI components ship on the ISO, the download is substantially larger than most distros — but it also means everything runs locally, on your terms.
Dual booting is the sane way to evaluate any distribution: keep your current setup untouched, dedicate a slice of the disk to the newcomer, and fall back gracefully if the experiment disappoints. That’s exactly what I did with my Dell Latitude E5530.
The hardware: a 2012 workhorse
The Latitude E5530 is a classic corporate laptop from the Ivy Bridge era: third-generation Intel Core CPU, Intel HD 4000 integrated graphics, and 8 GB of DDR3 RAM. Two of those specs matter enormously for an AI-flavored distro:
RAM is the ceiling. With no discrete GPU and no dedicated VRAM, any local model competes for system memory with the desktop itself. Sixteen gigabytes is enough to run small local models slowly; it is nowhere near enough for anything ambitious.
HD 4000 graphics are ancient. Everything renders fine for desktop use, but don’t expect GPU acceleration for inference. The E5530 tests whether Linux-AI is a pleasant desktop with usable AI tooling, not whether it’s an inference monster. On newer hardware, your mileage will be dramatically better.
One quirk to plan around: early-2010s Dell UEFI firmware is functional but picky. The good news is the E5530 handles 64-bit UEFI booting without fuss once configured correctly.
Pre-flight checklist
- Back up first, always. Dual booting means shrinking partitions and sharing a bootloader between two operating systems. Treat any data you care about as disposable until it’s copied elsewhere.
- Update the existing OS. If you already have Linux on this machine, update it before touching partitions — a current kernel and GRUB coexist far better with a new neighbor.
- Check firmware settings (F2 at boot on the E5530): SATA mode set to AHCI, boot mode set to UEFI, and note the state of Secure Boot. The Debian-based installer generally copes with it, but knowing its state prevents hour-long mysteries later.
- Size your partition. The project’s guidance calls for 64 GB as the official minimum for the base system, with 120 GB or more recommended for updates, user files, and local AI data. On my E5530’s SSD I carved out a chunk comfortably above that floor — AI tooling and model data genuinely do grow.
- Download and verify. Grab the ISO and the official checksum file, then compare:
sha256sum linux-ai-*.iso
A corrupt multi-gigabyte download is a miserable thing to discover at boot time. (Handy detail: the project also offers the ISO in downloadable segments with rebuild instructions, useful on slow connections.) 6. Flash the USB stick. Ventoy, balenaEtcher, or plain dd all work; the ISO targets 64-bit UEFI systems.
The installation
Booting from the USB went smoothly. I started in the live session — always worth doing on old hardware — and confirmed Wi-Fi, display, and sound worked before committing any disk space. Then I launched the installer and made four decisions:
- Manual partitioning. From the free space I created a root partition (ext4), sized generously, and a modest swap partition — with 16 GB of RAM, swap sees little action.
- Reuse the existing EFI System Partition. This is the single most important dual-boot decision. Rather than creating a second ESP, I pointed the installer at the EFI partition my existing install had already created. One ESP, two distros, two GRUB entries — it’s how the firmware expects things to work, and on firmware this vintage it avoids real headaches. (If Linux-AI is your first OS on this machine, let the installer create the ESP itself; just remember where it lives.)
- Bootloader on the same drive. The installer’s GRUB takes over as the master bootloader. Fine — more on fixing the menu below.
- User account, install, reboot. Unremarkable, which is exactly what you want an installer to be.
Note: the 1.0 release documentation lists a default root password for the live session (‘linux-ai’), so that’s the kind of credential worth checking on the download page for whichever build you use.
Fixing the boot menu
After first boot only Linux-AI appeared in GRUB. Totally normal: the freshly installed GRUB hasn’t scanned for other operating systems yet. Two commands fix it, run from inside Linux-AI:
sudo os-prober # should now list your other install sudo update-grub # regenerate the menu, adding the other OS